Apple’s built-in iPhone parental controls (Screen Time + Family Sharing) are powerful enough for most families — if you set them up the right way. This guide walks you through the exact steps to protect your child’s iPhone: app limits, downtime, content restrictions, purchase blocks, communication limits, and location safety.
If you want the full shortlist of tools (built-in + apps), see: Top Parental Control Apps for iPhone.
Short on time? Do this checklist first
- Create (or confirm) your child’s Apple ID and set up Family Sharing.
- Turn on Screen Time and choose This is My Child’s iPhone.
- Set a Screen Time Passcode (not the same as your device passcode).
- Enable Content & Privacy Restrictions (block adult content + purchases).
- Set Downtime + App Limits (start simple, then tighten).
- Configure Communication Limits (who can contact who, and when).
- Turn on Location Sharing / Find My for safety (optional, but useful).
- Review weekly Screen Time reports and adjust rules.
If you need extra safety alerts or a simpler parent dashboard, consider one of these (optional): Bark, Parentaler, Eyezy, or mSpy.
What you need before you start
- Your iPhone (parent/guardian) + your child’s iPhone
- Apple ID access for the child (or the ability to create one)
- 5–10 minutes of uninterrupted setup time
If you’re choosing tools beyond Apple’s built-ins, use: How to Choose the Right Monitoring App for Your Family.
Step-by-step: Set up iPhone parental controls the right way
Step 1: Set up Family Sharing
Family Sharing is the cleanest way to manage Screen Time remotely and keep settings consistent.
- On your iPhone: Settings → Apple ID → Family (or “Family Sharing”).
- Add your child to the family group (or create a child account).
- Confirm the child is listed under your Family group.
Step 2: Turn on Screen Time on your child’s iPhone
- On your child’s iPhone: Settings → Screen Time.
- Turn Screen Time on and select This is My Child’s iPhone (important).
Step 3: Set a Screen Time passcode (don’t skip this)
This is the #1 reason parental controls fail: the child can change settings if the parent doesn’t lock them.
- Go to Settings → Screen Time → Use Screen Time Passcode.
- Create a passcode your child can’t guess (avoid birthdays / 1234).
- Don’t reuse your phone unlock code.
Step 4: Enable Content & Privacy Restrictions
This is where you block adult content, prevent app installs, and stop surprise purchases.
- Settings → Screen Time → Content & Privacy Restrictions → toggle ON.
- iTunes & App Store Purchases:
- Installing Apps: Don’t Allow (or require approval)
- Deleting Apps: Don’t Allow
- In-app Purchases: Don’t Allow
- Content Restrictions:
- Web Content: Limit Adult Websites (or Allowed Websites only for younger kids)
- Apps/Movies/Music: set age-appropriate limits
- Explicit Language: restrict if needed
Step 5: Set Downtime (bedtime & school hours)
Downtime blocks most apps during specific hours, which helps sleep and focus without daily arguments.
- Settings → Screen Time → Downtime.
- Pick a schedule (example: 21:00–07:00 for school nights).
- Customize “Always Allowed” apps (calls, messages, school tools).
Step 6: Set App Limits (start with 2–3 apps)
App Limits work best when you start small. Don’t limit 20 apps on day one — it turns into chaos.
- Settings → Screen Time → App Limits → Add Limit.
- Start with the biggest time sinks (TikTok/YouTube/Instagram/games).
- Choose a daily time limit and enable Block at End of Limit.
Step 7: Communication limits (reduce risky contacts)
You can limit who your child can contact during allowed screen time and during downtime.
- Settings → Screen Time → Communication Limits.
- Set rules for:
- During Screen Time
- During Downtime
Step 8: Location safety (Find My + sharing)
If location safety is part of your parenting plan, enable it intentionally (and explain why).
- Use Find My location sharing inside the family group.
- Agree on rules: when you check location, and what happens if the phone is off.
If you’re also considering a kid-focused device instead of a full smartphone, see: Best Kids Phones & GPS Watches With Parental Controls.
Common mistakes (and how to avoid them)
- No Screen Time passcode: settings will get changed.
- Over-restricting on day one: start with web filtering + 2–3 app limits, then adjust.
- Not using a family rule agreement: confusion creates conflict.
- Never reviewing reports: Screen Time only helps if you use the weekly data.
When Apple’s parental controls aren’t enough
Screen Time is great for boundaries and purchases, but some parents want:
- Safety alerts and guided interventions (less micromanaging)
- A simpler dashboard than Apple menus
- More visibility into patterns and risky behavior signals
For a full tool list, see: Top iPhone Monitoring Apps.
Comparison table (popular iPhone parental control alternatives)
| App | Best for | Platforms | Key highlights | Refund or Trial |
|---|---|---|---|---|
| Bark | Safety alerts + healthier habits | iPhone + Android | Alerts-first approach (less micromanaging) | See official site |
| Parentaler | Simple rules and boundaries | iPhone + Android | Parent-friendly “keep it simple” workflow | See official site |
| Eyezy | Clean dashboard + routine check-ins | iPhone | Useful visibility into patterns (setup-dependent on iOS) | See official site |
| mSpy | All-round monitoring dashboard | iPhone | Stronger “one dashboard” option (setup-dependent on iOS) | See official site |
Want to compare more tools side-by-side? Use: Parental Control & Monitoring Apps Comparison Table.
Recommended tools (brand blocks)
Bark – best for safety alerts (less micromanaging)
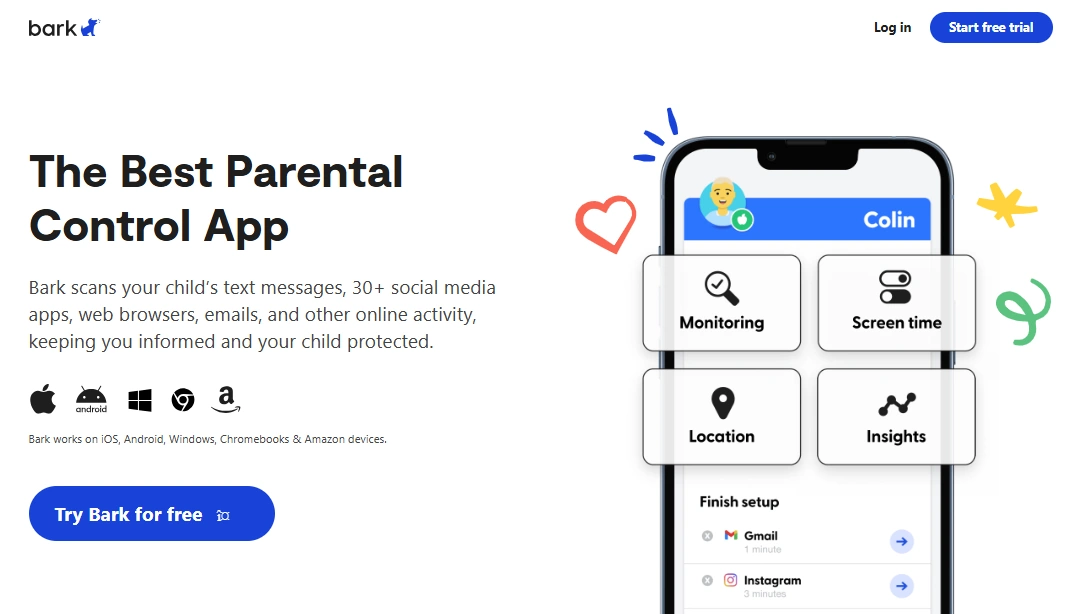
Bark is a great fit if you want a safety-first approach: you get alerts and intervene when needed, instead of constantly checking everything.
Product Highlights
- Alerts-first monitoring style
- Designed for parent workflows and intervention
- Often easier to sustain long-term than “log everything” tools
PROS
- Less daily conflict for many families
- Strong safety approach for kids and teens
CONS
- May feel “too light” if you want deep dashboard detail
Ready to try Bark? Check the latest plans on the official website.
Parentaler – best for simple rules, routines, and boundaries
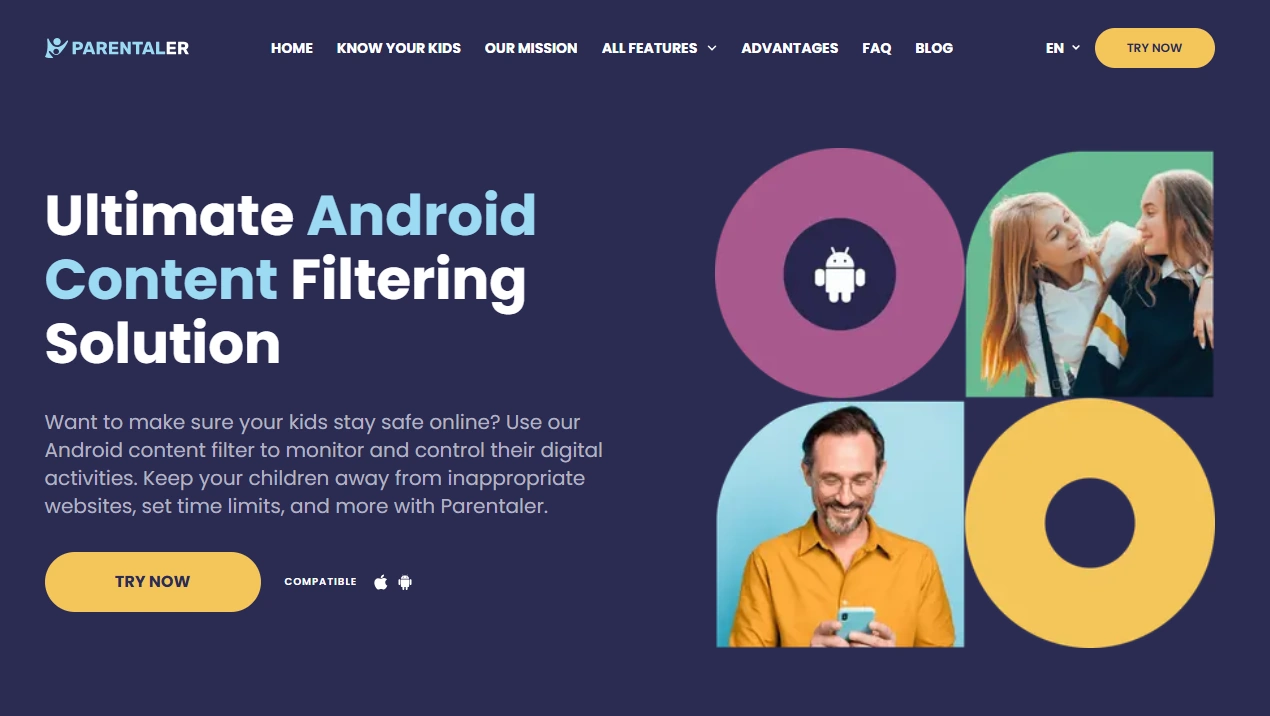
Parentaler is a strong option if your priority is structure: clear boundaries, basic controls, and a parent-friendly workflow without feature overload.
Product Highlights
- Simple parent dashboard
- Good fit for non-technical parents
- Great “start simple” approach
PROS
- Low overwhelm
- Easy to maintain long-term
CONS
- May feel limited if you want advanced monitoring depth
Ready to try Parentaler? Check the latest plans on the official website.
Eyezy – clean iPhone dashboard for routine check-ins
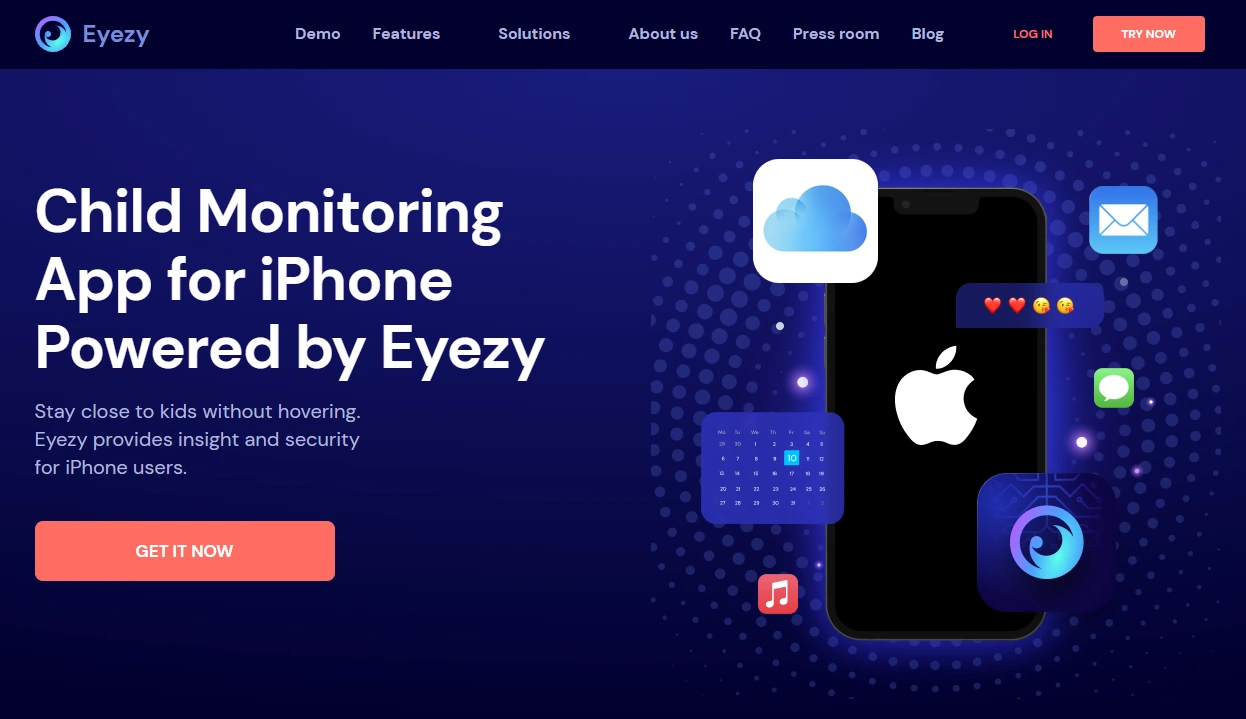
Eyezy is best if you want a clean dashboard and a calm “check once daily” routine. Full guide: Eyezy for iPhone: Complete Review & Setup.
PROS
- Clean UI and parent-friendly workflow
CONS
- iOS monitoring is setup-dependent
Ready to try Eyezy? Check the latest plans on the official website.
mSpy – all-round iPhone monitoring dashboard (advanced option)
If you want a broader “one dashboard” approach, mSpy is the main comparison pick. Full guide: mSpy for iPhone: Full Review & Setup Guide.
PROS
- Strong all-round dashboard option
CONS
- iOS monitoring expectations must stay realistic
Ready to try mSpy? Check the latest plans on the official website.
Which option is best for your situation?
If you want simple boundaries (limits, bedtime, purchases)
Start with Apple Screen Time + Family Sharing first. If you want a simple parent dashboard on top, consider Parentaler.
If you want safety alerts and fewer daily arguments
Choose an alerts-first approach like Bark and pair it with clear family rules.
If you want a clean dashboard and calm daily check-ins
Compare Eyezy and keep your monitoring routine simple (once daily is enough for most families).
If you want a more all-round monitoring dashboard
Start with mSpy and follow a structured setup: mSpy for iPhone: Full Review & Setup Guide.
Is it legal to set up parental controls on an iPhone?
In most places, parents/guardians can set up parental controls and safety settings on devices they own or manage for their child. The safest approach is transparency: explain what you’re restricting, why, and how you’ll handle problems.
Important: secret monitoring of another adult without consent is usually illegal. Read: Legal Phone Tracking: What’s Allowed and What’s Not.
FAQ
What are the best iPhone parental controls?
For most families, Apple Screen Time + Family Sharing is the best starting point. Add third-party tools only if you need a simpler dashboard or safety alerts.
How do I stop my child from turning off Screen Time?
Set a Screen Time passcode and don’t share it. Also make sure you selected “This is My Child’s iPhone” during setup.
How do I block app installs and in-app purchases on iPhone?
Enable Content & Privacy Restrictions, then set iTunes & App Store Purchases to block installs, deletes, and in-app purchases (or require approval).
How do I block adult websites on iPhone?
In Content Restrictions, set Web Content to “Limit Adult Websites” (or Allowed Websites only for younger children).
What’s better: Apple Screen Time or a parental control app?
Screen Time is usually best for limits, downtime, and purchases. Apps like Bark or Parentaler can add a parent-friendly dashboard and/or safety alerts depending on your goal.